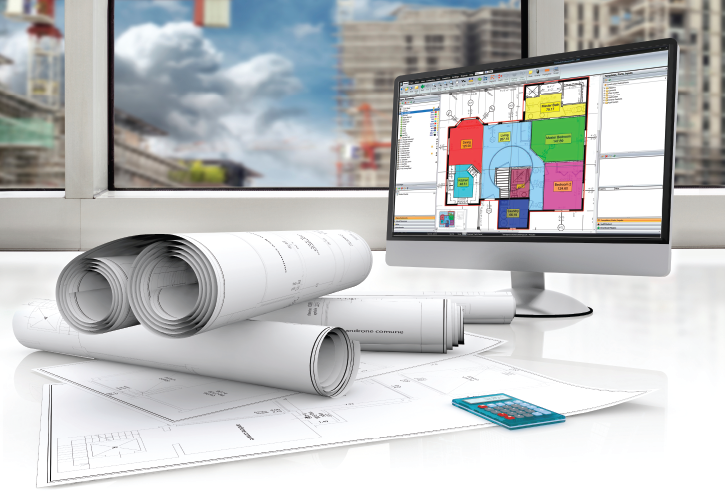
In the construction industry, accuracy is crucial, and performing takeoffs manually can be time-consuming and prone to errors. With digital takeoff software like PlanSwift, you can streamline the entire process, improve accuracy, and save time. In this step-by-step guide, we will walk you through how to perform a digital takeoff in PlanSwift effectively.
What is PlanSwift?
PlanSwift is a leading takeoff and estimating software designed for contractors, builders, and estimators. It allows users to create fast and accurate digital takeoffs directly from their project plans. By eliminating the need for manual calculations, PlanSwift can help professionals increase productivity and profitability.
Step-by-Step Guide to Performing a Digital Takeoff in PlanSwift
Step 1: Install and Open PlanSwift
Before you can begin, you’ll need to download and install PlanSwift. Once installed, open the software and set up your account or sign in to your existing account. If you’re new, consider using the 14-day free trial PlanSwift offers to explore the features.
Step 2: Upload Your Project Plan
- Once logged in, start by uploading the blueprint or project plan in PDF or other compatible formats. You can drag and drop the file or upload it manually.
- After uploading, ensure that your plan is correctly scaled. This is essential for accurate takeoff measurements.
Step 3: Set the Scale
- Select the “Set Scale” option from the toolbar.
- Choose the units (feet, meters, inches) according to your project requirements.
- Enter the known dimensions, or use the calibration tool to set the scale by drawing a line between two known points on the plan.
Step 4: Select the Takeoff Tools
PlanSwift provides multiple takeoff tools for different measurements, such as area, linear, and count takeoffs. Here’s a breakdown of each tool:
- Area Takeoff Tool: Use this to measure surface areas like walls, floors, or roofs.
- Linear Takeoff Tool: This tool helps you measure lengths, such as electrical wiring, piping, or perimeter walls.
- Count Takeoff Tool: Use this to count individual items, such as light fixtures, windows, or doors.
Step 5: Begin the Takeoff Process
- Select a tool based on your needs, then click and trace around the area or object on the plan.
- Once you have completed the measurement, PlanSwift will automatically calculate the dimensions for you.
- For repetitive elements (like multiple windows), you can copy and paste the takeoff or use the automation feature to speed up the process.
Step 6: Review and Adjust
Once your takeoffs are complete, review the data. If necessary, adjust any measurements or annotations. PlanSwift allows you to go back and modify previous steps without starting over.
Step 7: Export Your Takeoff Data
- After completing the digital takeoff, export the data for further use. PlanSwift supports exporting to various formats, such as Excel, PDF, or integration with other estimating software.
- You can also generate custom reports based on the takeoff data, making it easier to share with clients or other team members.
Conclusion
Performing a digital takeoff in PlanSwift is an efficient and accurate way to manage construction estimates. By following this step-by-step guide, you can streamline your workflow, reduce errors, and improve overall productivity. Whether you are a contractor, estimator, or builder, using PlanSwift can save you time and make your project planning process smoother.


